
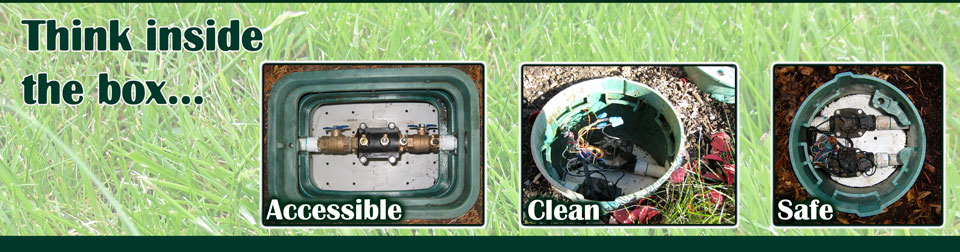
Installation Guide: |
Learn how to install Box Guard for new installations or existing installations. |
The investment you make in installing Box Guard will immediately pay off the first time the valve is serviced. The extra 15 minutes that it takes to install Box Guard will ensure that the valve box will be clean and easily accessible for months and years to come. For assembly instructions for the BG#1400 and BG#2000 models click here.
New Installations:
When installing Box Guard please follow these directions carefully, as improper installation can result in the reduced effectiveness of Box Guard.
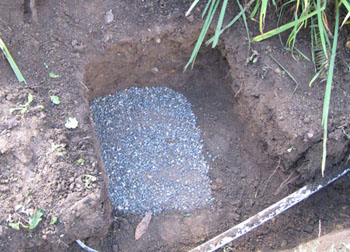 |
1. Install 2-3" of gravel in the base of the pit and place the Box Guard in the desired location of the valve box |
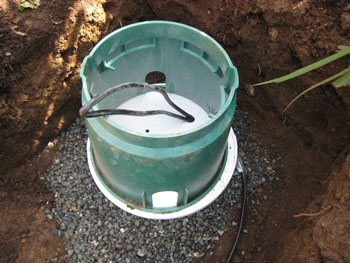 |
2. Position valve box in the desired location to check that the valve box is level and sitting at the correct height |
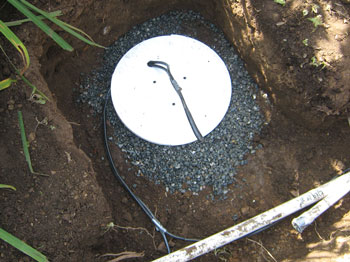 |
3. Run the wiring for the valves through the existing holes, or drill a larger hole if needed, in the bottom of the Box Guard |
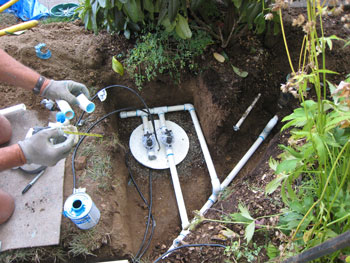 |
4. Install the valves as normal. However, fittings should be kept away from the entrance and exits of the valve box to allow the side guards to fit properly around the pipe as they are sized for pipe, not fittings |
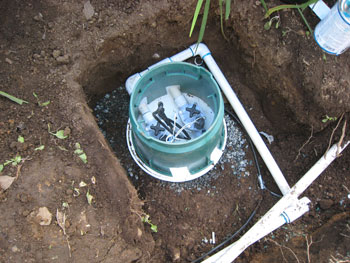 |
5. Place the valve box on top of the Box Guard, lining up the openings in the box with the pipes. If necessary, carefully saw additional openings, as small as possible, in the valve box. Do NOT make one large hole as the guards are designed to have support on either side from the valve box (Recommended, no more than: 1 valve for a 6" valve box, 2 valves for a 10" valve box, and 4 valves for a standard size valve box) |
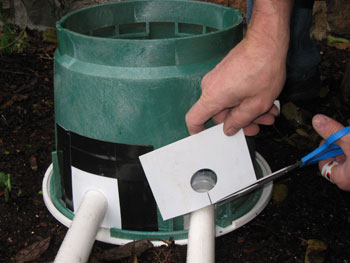 |
6. Trim the side guards to fit underneath the pipes entering and exiting the valve box. Install the side guards on the outside of the valve box and secure with a strong adhesive tape such as Gorilla tape. Backfill around valve box as normal |
